Setting the file. One moment.
Verify error tracking
Recommended
Confirm events are being sent to PostHog
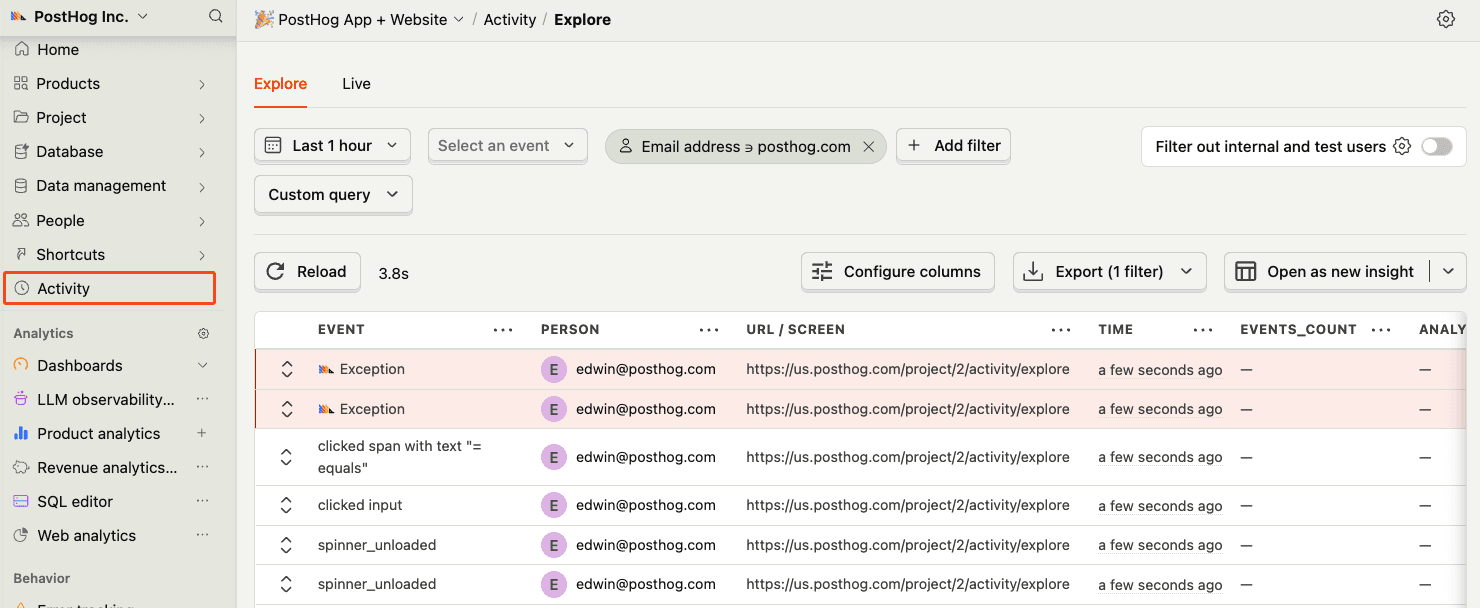
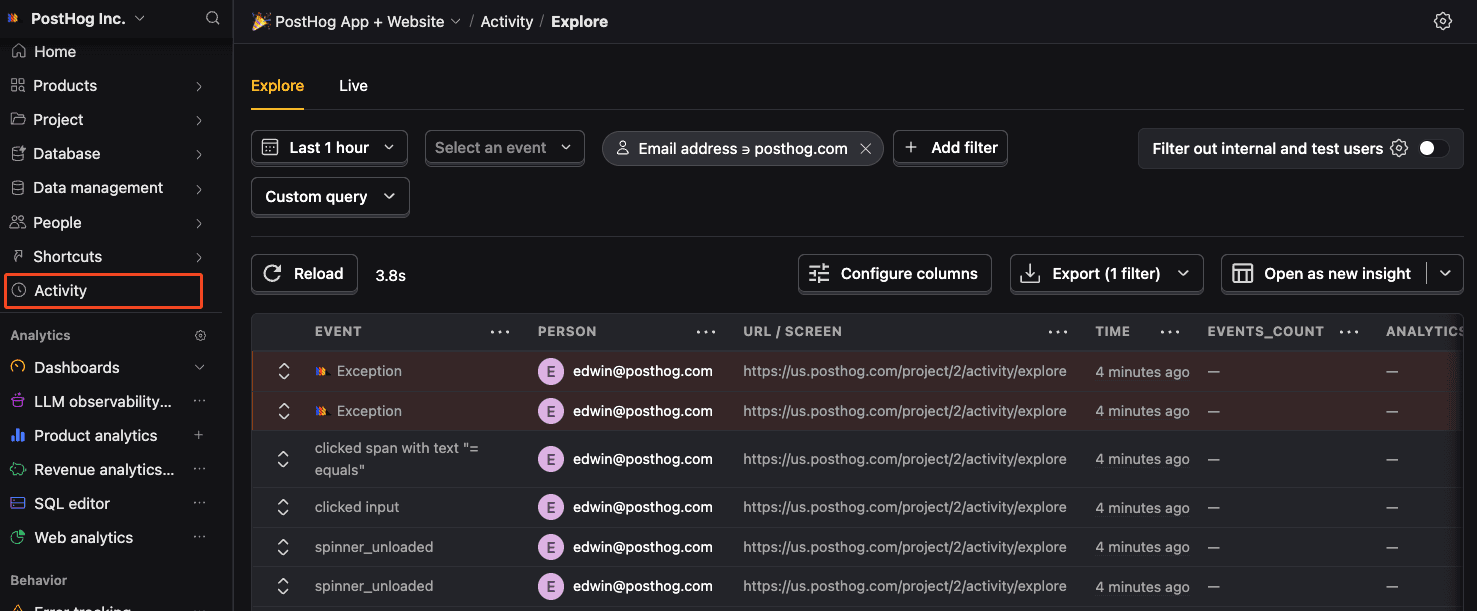
Before proceeding, let’s make sure exception events are being captured and sent to PostHog. You should see events appear in the activity feed.
Chapter 158 · Omnibus Instrument Error Tracking
Subchapter 158.15
references/react.mdMarkdown5 KBView on GitHub
Required
Install posthog-js (opens in a new tab) and @posthog/react using your package manager:
PostHog AI
npm install posthog-js @posthog/reactyarn add posthog-js @posthog/reactpnpm add posthog-js @posthog/react2
Required
Add your PostHog project token and host to your environment variables. For Vite-based React apps, use the VITE_PUBLIC_ prefix:
.env
PostHog AI
VITE_PUBLIC_POSTHOG_PROJECT_TOKEN=<ph_project_token>
VITE_PUBLIC_POSTHOG_HOST=https://us.i.posthog.com
3
Required
Wrap your app with the PostHogProvider component at the root of your application (such as main.tsx if you’re using Vite):
main.tsx
PostHog AI
import { StrictMode } from 'react'
import { createRoot } from 'react-dom/client'
import './index.css'
import App from './App.jsx'
import { PostHogProvider } from '@posthog/react'
const options = {
  api_host: import.meta.env.VITE_PUBLIC_POSTHOG_HOST,
  defaults: '2026-01-30',
} as const
createRoot(document.getElementById('root')).render(
  <StrictMode>
    <PostHogProvider apiKey={import.meta.env.VITE_PUBLIC_POSTHOG_PROJECT_TOKEN} options={options}>
      <App />
    </PostHogProvider>
  </StrictMode>
)
defaults option
The defaults option automatically configures PostHog with recommended settings for new projects. See SDK defaults (opens in a new tab) for details.
4
Recommended
Use the usePostHog hook to access the PostHog instance in any component wrapped by PostHogProvider:
MyComponent.tsx
PostHog AI
import { usePostHog } from '@posthog/react'
function MyComponent() {
    const posthog = usePostHog()
    function handleClick() {
        posthog.capture('button_clicked', { button_name: 'signup' })
    }
    return <button onClick={handleClick}>Sign up</button>
}
You can also import posthog directly for non-React code or utility functions:
utils/analytics.ts
PostHog AI
import posthog from 'posthog-js'
export function trackPurchase(amount: number) {
    posthog.capture('purchase_completed', { amount })
}
5
Recommended
Click around and view a couple pages to generate some events. PostHog automatically captures pageviews, clicks, and other interactions for you.
If you’d like, you can also manually capture custom events:
JavaScript
PostHog AI
posthog.capture('my_custom_event', { property: 'value' })6
Recommended
You can enable exception autocapture for the JavaScript Web SDK in the Error tracking section of your project settings (opens in a new tab).
When enabled, this automatically captures $exception events when errors are thrown by wrapping the window.onerror and window.onunhandledrejection listeners.
7
Optional
You can use the PostHogErrorBoundary component to capture rendering errors thrown by components:
JavaScript
PostHog AI
import { PostHogProvider, PostHogErrorBoundary } from '@posthog/react'
const Layout = () => {
  return (
    <PostHogProvider apiKey="<ph_project_token>">
      <PostHogErrorBoundary
        fallback={<YourFallbackComponent />} // (Optional) Add a fallback component that's shown when an error happens.
      >
        <YourApp />
      </PostHogErrorBoundary>
    </PostHogProvider>
  )
}
const YourFallbackComponent = ({ error, componentStack, exceptionEvent }) => {
  return <div>Something went wrong. Please try again later.</div>
}
8
Optional
It is also possible to manually capture exceptions using the captureException method:
JavaScript
PostHog AI
posthog.captureException(error, additionalProperties)Recommended
Confirm events are being sent to PostHog
Before proceeding, let’s make sure exception events are being captured and sent to PostHog. You should see events appear in the activity feed.
9
Required
Great, you’re capturing exceptions! If you serve minified bundles, the next step is to upload source maps to generate accurate stack traces.
Let’s continue to the next section.
Ask a question
HelpfulCould be better